|
Do you dream of being an artist? If you're reading this, I expect the answer to that is yes. I've been reading 'The Artists Way' by Julia Cameron and in it she talks about The Shadow Artist. That resonated with me right away. The Shadow Artist is the child who loved to paint, or draw, played a musical instrument, wrote poems or loved to dance. But their well-meaning (or otherwise) parents encouraged them to pursue a 'worthwhile' career and keep their artistic pursuits as a hobby. Was this you? It was me. I really loved painting as a child. I was slow at everything else, not because I couldn't do it, writing or reading etc. It was because I was only excited by drawing and painting. My teachers really encouraged me at junior school. But when I went to my Secondary School, (I was shoe-horned in by my well-meaning father who was an eminent scientist). Art was frowned upon. This school specialised in science! I was not interested in what they wanted to teach me. Except I could draw up the experiments really well and my maps looked pretty cool. Fast forward 20 years-5 years as a business analyst and 15 as a magazine publisher-I jacked it all in and became an Editorial Photographer. Yep, just like that! I loved gardens and plants so that's what I did. I was back on the path I wanted to follow! Then, I started to paint seriously again (I always dabbled, don't we all?) At first joining a local group and using watercolours. Then I dipped my brushes in oils and the world took off. I started to go on courses run by artists; The St Ives School of Painting with Liz Hough and Alice Mumford, The Heatherley School of Fine Art, The Mall Galleries and The RWA. And courses tutored by Louise Balaam and another by Sarah Spencer. I was serious about learning as much as I could, I had years of catching up to do! They were all great fun but I discovered that they all taught their method and style of painting. There were no elementary details. You were expected to understand colour mixing and the rest...
Over that time I painted on my kitchen table then moved out to the garage, which was far too cold, so I took over a small box room in the house. Then we moved and I lost my little space. My husband, Joe suggested I look for a studio. I found one in our new home town, Frome and have been there ever since. I love closing the door and messing around with paint. But my efforts were often hit-and-miss. Some paintings appeared without seemingly much input from me and I was very pleased with them, selling them quickly. Others I laboured over for days. I came to realise that when i painted from my subconscious, intuitively, from my soul my paintings sang to me like larks. And over time I managed to reach this space more often. Why? Well I think it boils down to two reasons:
There is a Japanese word Shuhari shu (守) means traditional wisdom and techniques. To Master. ha (破) means breaking with tradition, to find new approaches. To Experiment. ri (離) means transcendence where all moves are natural becoming at one with spirit alone. Paint what you feel. We don't have a word that explains this in English. But this is what I was doing;
SHUHARI SO WHAT IS THE SHU IN SHUHARI? There are several key elements to make a strong painting:
AND THE HA? Practice, practice, practice. I find that people who come on my workshops expect some kind of instant transformation. A concert pianist practices everyday for years. Why should painting be any different? It's not a talent it's really something that you can learn. Some people just have a head start. If you practice 1/2 an hour a day 3 or 4 times a week will get much better than if you labour for hours once a month. And get hold of those secrets that all these tutors keep to themselves. How? Ask me. I gladly share all the goodies that I've learnt, so that you don't have to go through the expense, frustration and time that I did. I'm no longer a Shadow Artist. Are you? If you want to come out of the shadows, take a look at my Free video, in it I share some of the secrets...
1 Comment
When I got my first commission I thought wow! This is fantastic. However, I soon discovered that commissions can be a bit of a mine field. So here are my top tips on how to navigate the mines. The Problem When you sell a painting the buyer chooses that painting. They can see it, touch it. It's right there in front of them. When a buyer asks for a commission the painting is just in their imagination. And, you will never be able to paint what they are thinking. If they start getting very specific you're onto a loosing game. I would gently suggest that you would not be the right person for their commission. It hurts to turn down income, but sometimes it's not worth the heartache. If they say that they just love your style and trust you to paint then happy days. Maybe they just want a particular colour to be included. One couple asked for me to match the yellow in their sofa, not a problem. So how do you find all this out? Tip 1 Make sure that the buyer understands that the painting will be in your style. If you paint abstracts then they can't expect rabbits, or photorealism. Just because you can paint doesn't mean that you can paint anything. Tip 2 Work out what is realistic for you to work with. Maybe they want a particular colour. Maybe they want a specific size. Maybe they need it in a couple of weeks. Maybe they want oil paints. Establish clearly what you can accommodate and what you can't. Tip 3 Ease them into their painting. May paint a couple of sketches on paper and ask which they prefer. Then they have an idea of the final outcome. Offer them a way of seeing progress, not too much, but maybe half way through so that they can comment. I was asked to put more pink into a painting, sure no problem. And asked to include a couple of deer.... I know someone who paints 2 and then asks which one they want (hedging bets) Tip 4
Write up a contract that clearly states how the commission will work i.e. Size Medium Final cost Interim payments (maybe ask for 50% in advance to cover materials) Time scale Payment terms Make sure they agree to everything before you start. Remember you are an artist running a business. I often get asked how I start a painting. These days I paint from my feelings, experiences and soul. But it took a while to get here. There are really no right or wrong ways to start. I think you should try anything and see if you enjoy it. Painting should always be enjoyable. Back in 2014 I painted a body of work under the title Wildlings. It was the idea of a friend of mine, Paul Debois, a photographer who photographed a series of wildlings. Wildlings are plants, growing wild in an unexpected place. Paul asked me if I could paint from his photographs and so I did. I called this painting 'Wild Thing'. And here is the video that Paul shot of me painting it.
I've been a professional photographer for 20 years my photography is published in magazines, books and web-sites all over the world. My job is to create images that sell.
I am also a painter, I sell my work on the internet, in galleries and art shows and to be successful you need to photograph your work well. It should be in focus. It needs to be an accurate representation of the colour. And the perspective needs to be spot on. Do you put off publishing your work because you don't know how to photograph it? Or worse, publish poor photos of your beautiful work. Read this, I will give you the inside tips for taking the best shots of your work. It's not hard and the shots will be good enough to post, publish and print too!
1 Equipment
Contrary to popular belief you don't need a lot. This is what you do need:
Did I forget something? Lights?
No, you don't need them. I have read blogs giving complicated information about how to set up your rig. It's not necessary. Honestly, the best shots of your work can be achieved with natural, filtered light. And a tripod. Forget lights.
"The best shots of your work can be achieved
with natural, filtered light. And a tripod"
2 Where do you set up your shoot?
At home, in your studio, if you have one, in the garden or basically anywhere with enough room and a good source of natural light. The light shouldn't fall directly onto the painting. Just find a spot where the light bathes the room. Not a shadowy corner. The key is to choose a day when it's bright but cloudy or if it's sunny filter the light with a white sheet on the window. The sheet acts like a cloud. If you have a wall with a hook hang the painting up. 3 Camera settings You are not shooting in Auto, it's a heinous crime. Shooting in manual is not difficult, here's how:
4 Positioning the camera Hang your artwork on the wall, position your camera (which is on the tripod) so that the lens points directly to the centre of the painting. The key is always to have the lens at 90 degrees to the painting this means the artwork will be perfectly in perspective. Move the tripod with the camera forwards and backwards so that as much of the image sits squarely in the frame as you look through the viewfinder (don't use your zoom here). If you have Live View use this it's easier. This maximises the area you photograph of your painting which will mean that the end result will have a higher resolution.
Take a shot using the timer or cable release, your shutter speed is going to be slow, maybe a second or more, you cannot hold a camera still enough to take a clear image. This is why you must use a tripod.
Look at the image on camera. Does it look as though the exposure is okay? Adjust the shutter speed by 1 notch up or down and see how this affects the exposure. Once you are happy take the shot. 5 Upload the images to a laptop and look at them in photoshop. The advantage of a cloudy day is that the white balance is usually pretty spot on. But if it appears too warm compared to the original painting adjust it in your photo editing app. look for white balance in the menu. Tweek the levels ie the highlights, mid-tones and shadows to properly replicate your painting. Keep it real, don't try to make it look better, it should be as close to the original as possible. Finally, sharpen ever so slightly, this is because images benefit from it. In Photoshop I use Unsharp mask with these settings: Amount 80% Radius 1 pixel Threshold 4 Save it with a sensible name. And that's it. Oh, don't forget to back up your images onto the Cloud or a backup disc.
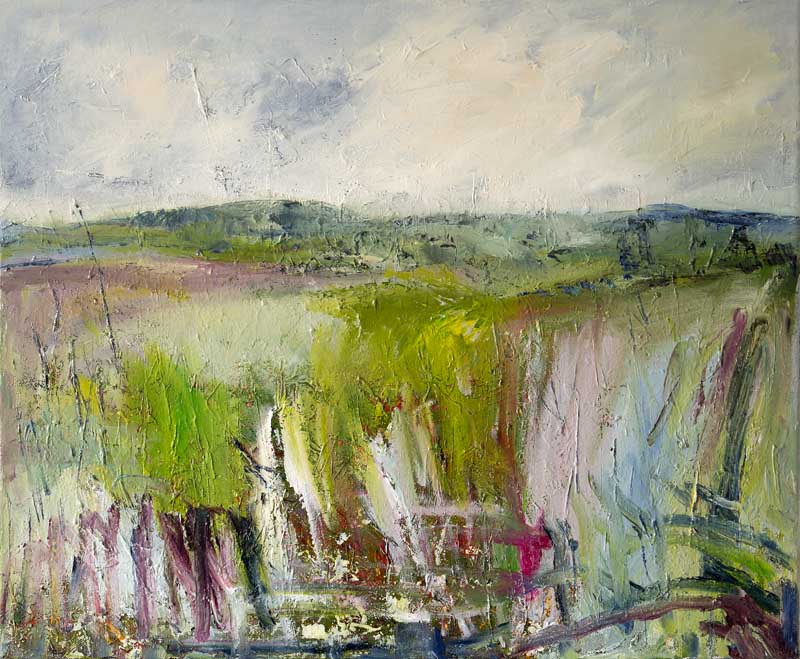
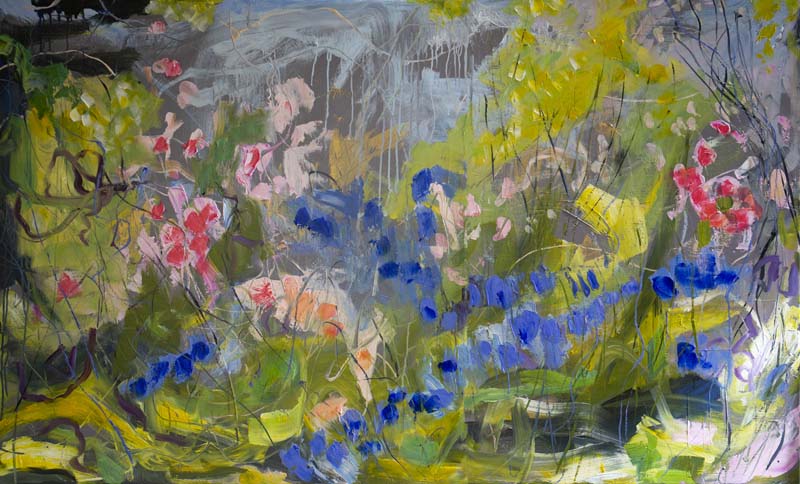
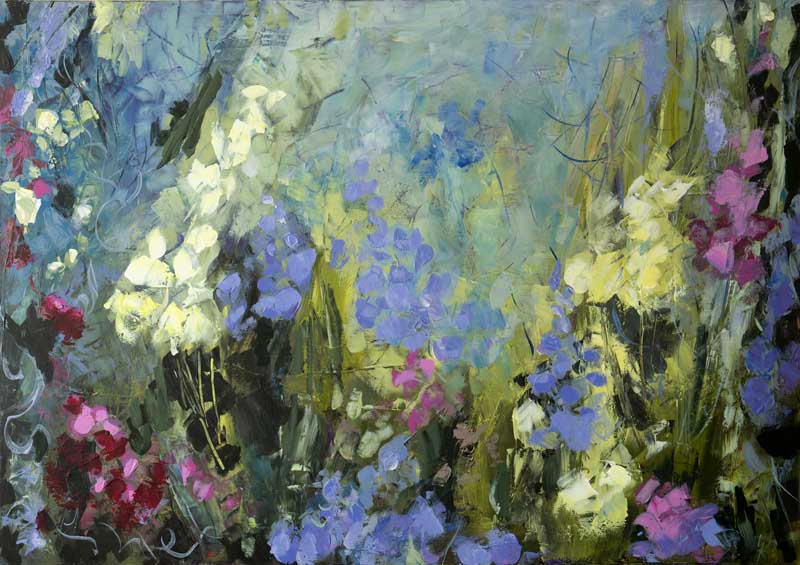
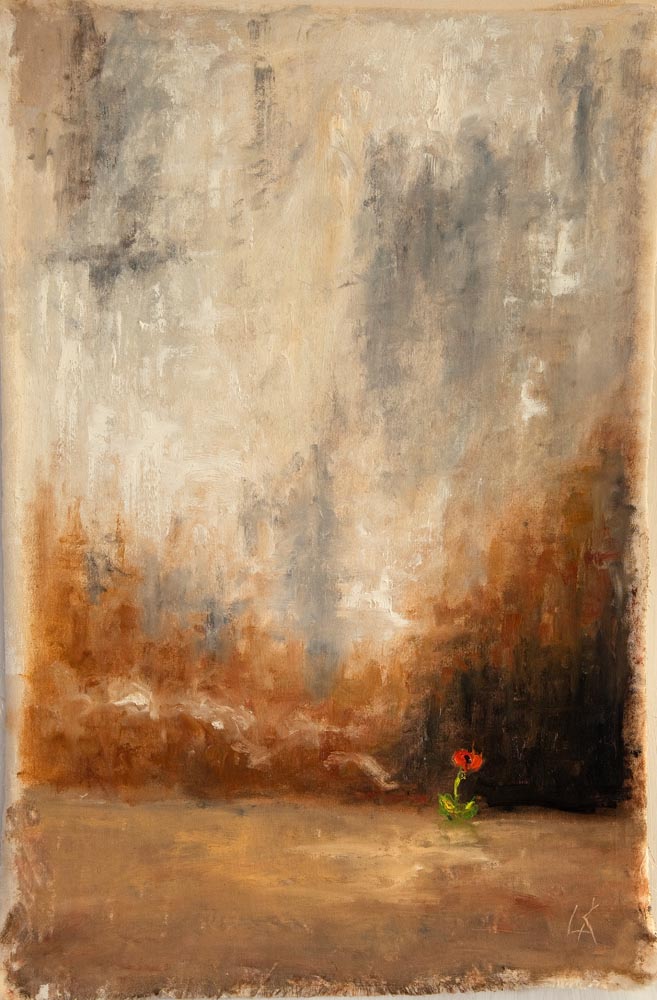
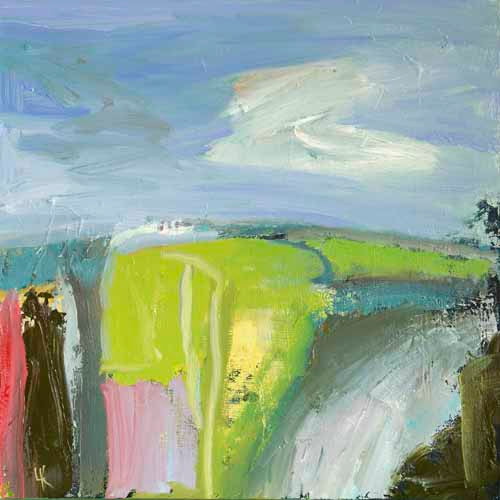
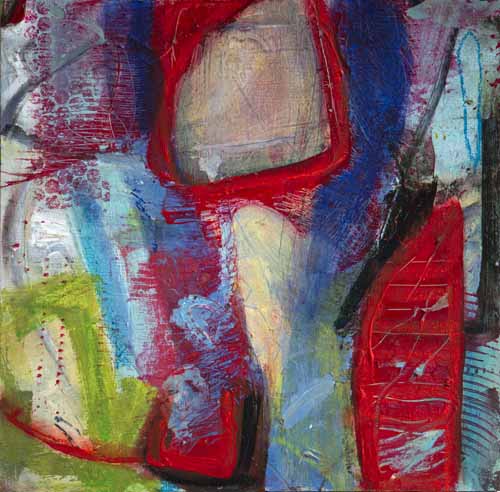
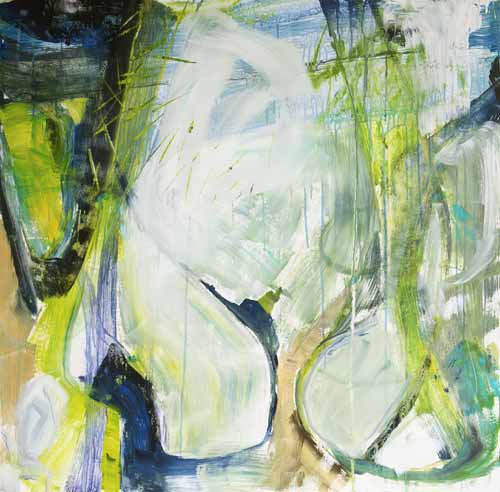
Here are some I took earlier
Do you have any questions? Just ask in the comments box.
And, if you have an idea for a post that will help you with your art practice, or indeed your photography please drop me a note. If you found this useful please share it with someone who will find it useful, Till next time Lynn x |
Lynn KeddieLynn is a painter of flowers, landscapes, and emotions. Categories
All
Archives
April 2024
|


 RSS Feed