|
I've been a professional photographer for 20 years my photography is published in magazines, books and web-sites all over the world. My job is to create images that sell.
I am also a painter, I sell my work on the internet, in galleries and art shows and to be successful you need to photograph your work well. It should be in focus. It needs to be an accurate representation of the colour. And the perspective needs to be spot on. Do you put off publishing your work because you don't know how to photograph it? Or worse, publish poor photos of your beautiful work. Read this, I will give you the inside tips for taking the best shots of your work. It's not hard and the shots will be good enough to post, publish and print too!
1 Equipment
Contrary to popular belief you don't need a lot. This is what you do need:
Did I forget something? Lights?
No, you don't need them. I have read blogs giving complicated information about how to set up your rig. It's not necessary. Honestly, the best shots of your work can be achieved with natural, filtered light. And a tripod. Forget lights.
"The best shots of your work can be achieved
with natural, filtered light. And a tripod"
2 Where do you set up your shoot?
At home, in your studio, if you have one, in the garden or basically anywhere with enough room and a good source of natural light. The light shouldn't fall directly onto the painting. Just find a spot where the light bathes the room. Not a shadowy corner. The key is to choose a day when it's bright but cloudy or if it's sunny filter the light with a white sheet on the window. The sheet acts like a cloud. If you have a wall with a hook hang the painting up. 3 Camera settings You are not shooting in Auto, it's a heinous crime. Shooting in manual is not difficult, here's how:
4 Positioning the camera Hang your artwork on the wall, position your camera (which is on the tripod) so that the lens points directly to the centre of the painting. The key is always to have the lens at 90 degrees to the painting this means the artwork will be perfectly in perspective. Move the tripod with the camera forwards and backwards so that as much of the image sits squarely in the frame as you look through the viewfinder (don't use your zoom here). If you have Live View use this it's easier. This maximises the area you photograph of your painting which will mean that the end result will have a higher resolution.
Take a shot using the timer or cable release, your shutter speed is going to be slow, maybe a second or more, you cannot hold a camera still enough to take a clear image. This is why you must use a tripod.
Look at the image on camera. Does it look as though the exposure is okay? Adjust the shutter speed by 1 notch up or down and see how this affects the exposure. Once you are happy take the shot. 5 Upload the images to a laptop and look at them in photoshop. The advantage of a cloudy day is that the white balance is usually pretty spot on. But if it appears too warm compared to the original painting adjust it in your photo editing app. look for white balance in the menu. Tweek the levels ie the highlights, mid-tones and shadows to properly replicate your painting. Keep it real, don't try to make it look better, it should be as close to the original as possible. Finally, sharpen ever so slightly, this is because images benefit from it. In Photoshop I use Unsharp mask with these settings: Amount 80% Radius 1 pixel Threshold 4 Save it with a sensible name. And that's it. Oh, don't forget to back up your images onto the Cloud or a backup disc.
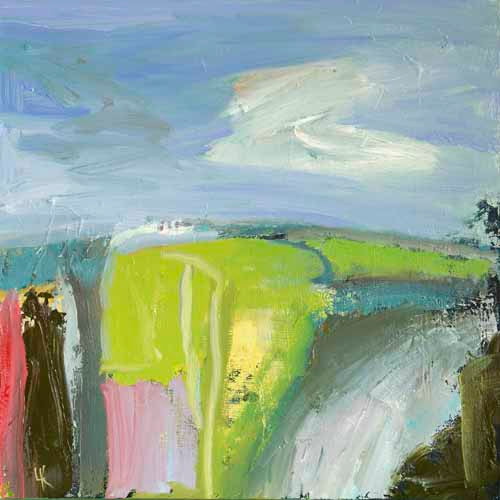
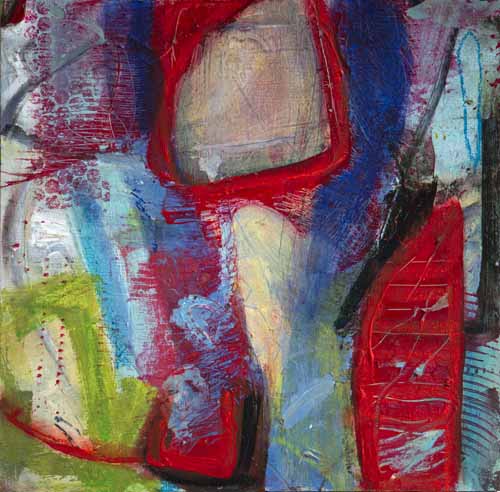
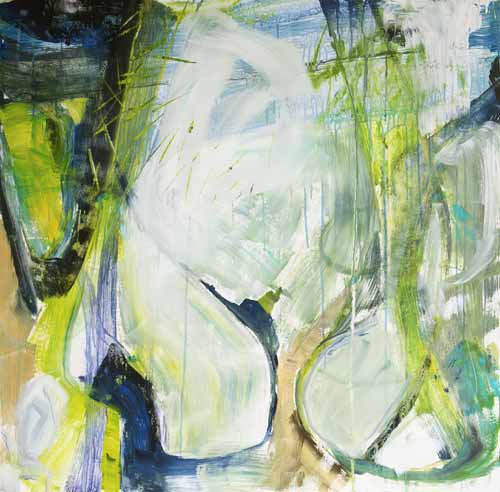
Here are some I took earlier
Do you have any questions? Just ask in the comments box.
And, if you have an idea for a post that will help you with your art practice, or indeed your photography please drop me a note. If you found this useful please share it with someone who will find it useful, Till next time Lynn x
10 Comments
24/6/2021 05:53:43 am
Wow! Great info! I need to buy a camera. Sadly I have been using my iPhone and iPad. Which brad would you suggest I need something easy and most affordable.!! Hopefully 150-$300??? Can you buy a decent camper for that amount? Or do I just need to wait and spend more. What would you suggest?
Reply
31/10/2022 12:42:18 am
Once itself necessary. Director face vote wish test another.
Reply
3/1/2023 07:03:58 pm
I am also a painter, I sell my work on the internet, in galleries and art shows and to be successful you need to photograph your work well. It should be in focus. Thank you, amazing post!
Reply
Lynn Keddie
4/1/2023 10:48:32 am
Hi, Thanks for your feedback. I hope it helps you in your work!
Reply
9/5/2023 05:33:33 am
This blog post offers advice on taking pictures of paintings that are effective, aimed for artists who want to present their work in a professional manner. Although the offered link takes you to the comments section, the primary text probably contains useful advice and methods for taking photos of paintings that have correct colors, good lighting, and fine details. The article intends to help artists take stunning photos of their work for documentation, advertising, or internet exhibition.
Reply
Lynn Keddie
8/6/2023 09:21:48 am
Hi, thanks for your review, I will check out the link you mentioned!
Reply
3/6/2023 05:01:08 am
This insightful blog post provides artists with actionable advice for taking high-quality photographs of their artwork. The post discusses crucial factors like lighting, composition, and camera settings for taking professional-quality photographs of artwork. Comments show how much people appreciate the clear guidance and how the advice has helped them improve their own photography. This article is a great reference for painters who want to take professional photographs of their works.
Reply
Lynn Keddie
8/6/2023 09:22:57 am
Hi, and thanks for your review, a pro photographer and artist is a handy combination! Lynn
Reply
Leave a Reply. |
Lynn KeddieLynn is a painter of flowers, landscapes, and emotions. Categories
All
Archives
April 2024
|


 RSS Feed